Table of contents
- Pre-requisites
- Step 1: Install kubectl
- Step 2: Install Minikube
- Step 3: Setup connections for Minikube
- Some issues while installing Kubernetes
- Wrapping up
Pre-requisites
-
Windows 10 Enterprise, Pro, or Education.
Windows 10 Home will not be compatible with Docker Desktop and Kubernetes, just because Virtual Machine Platform and Hyper-V functionality is not provided on Windows 10 Home.
-
Enable Virtual Machine Platform and WSL 2.
Go to this page: Install WSL 2 and configure it on Windows 10 and do the same steps.
-
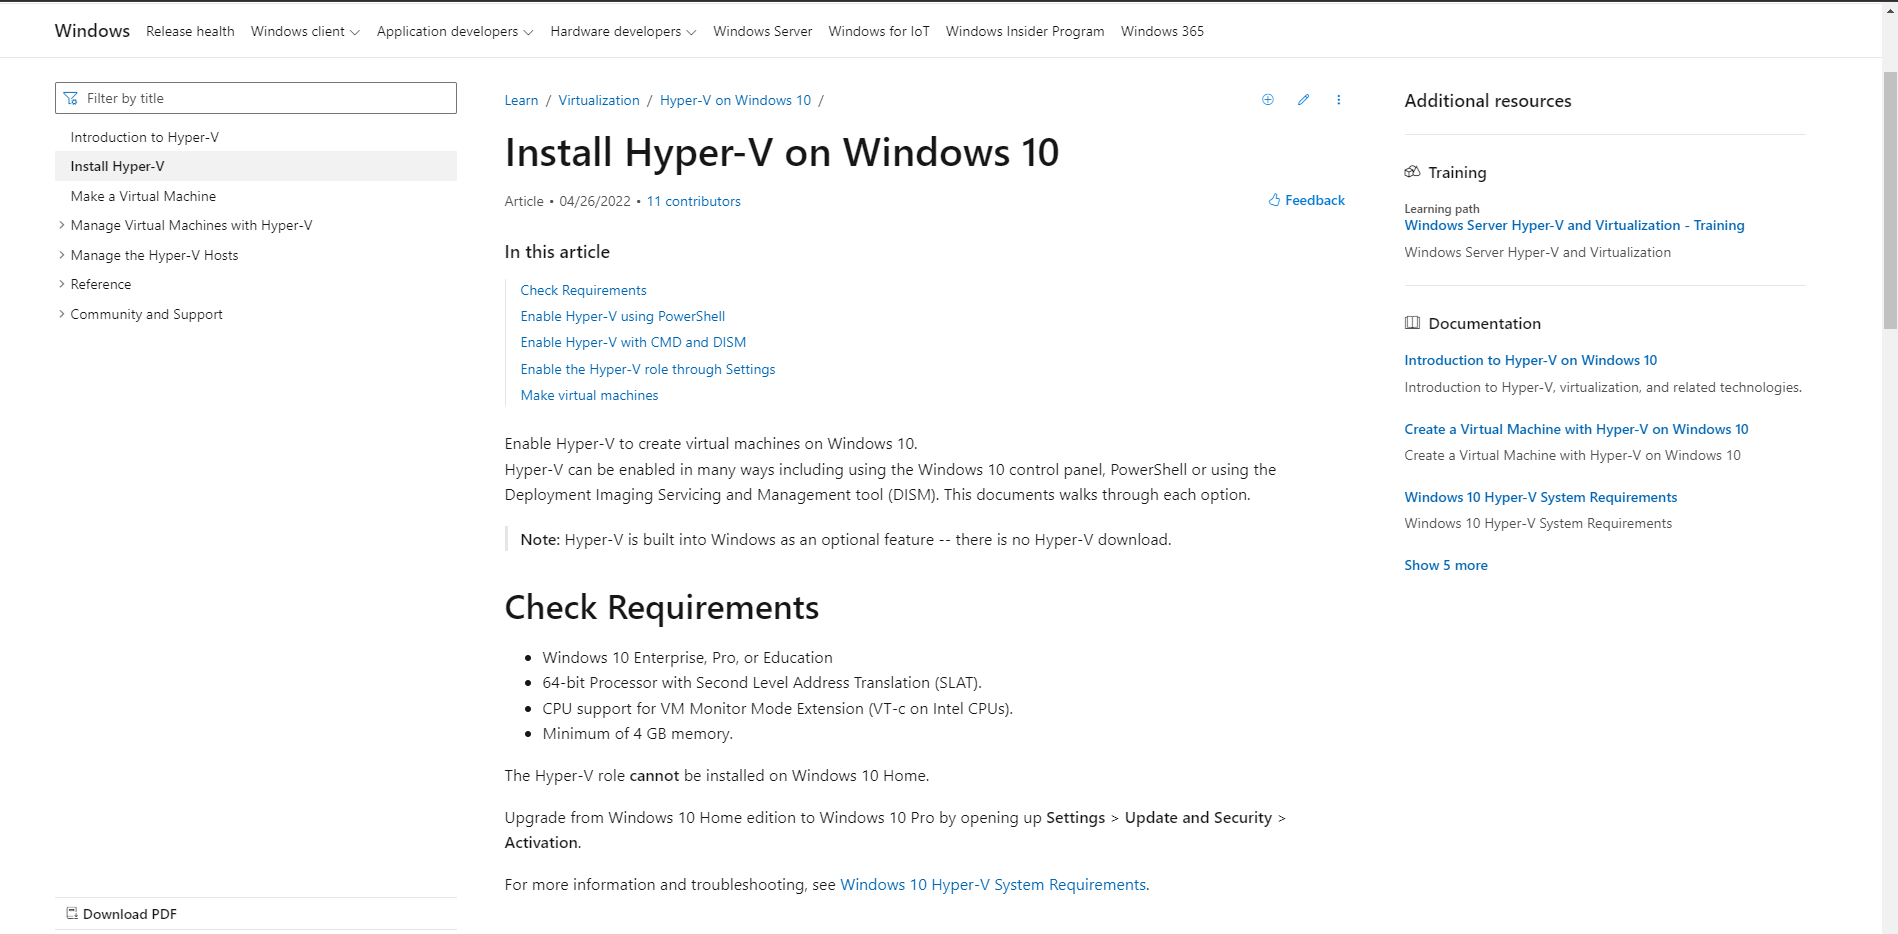
Enable Hyper-V.
Follow the instructions to enable Hyper-V on this page: Install Hyper-V on Windows 10.
-
Installed Docker Desktop.
In this item, we can refer to the following article: Understanding about Docker.
Step 1: Install kubectl
-
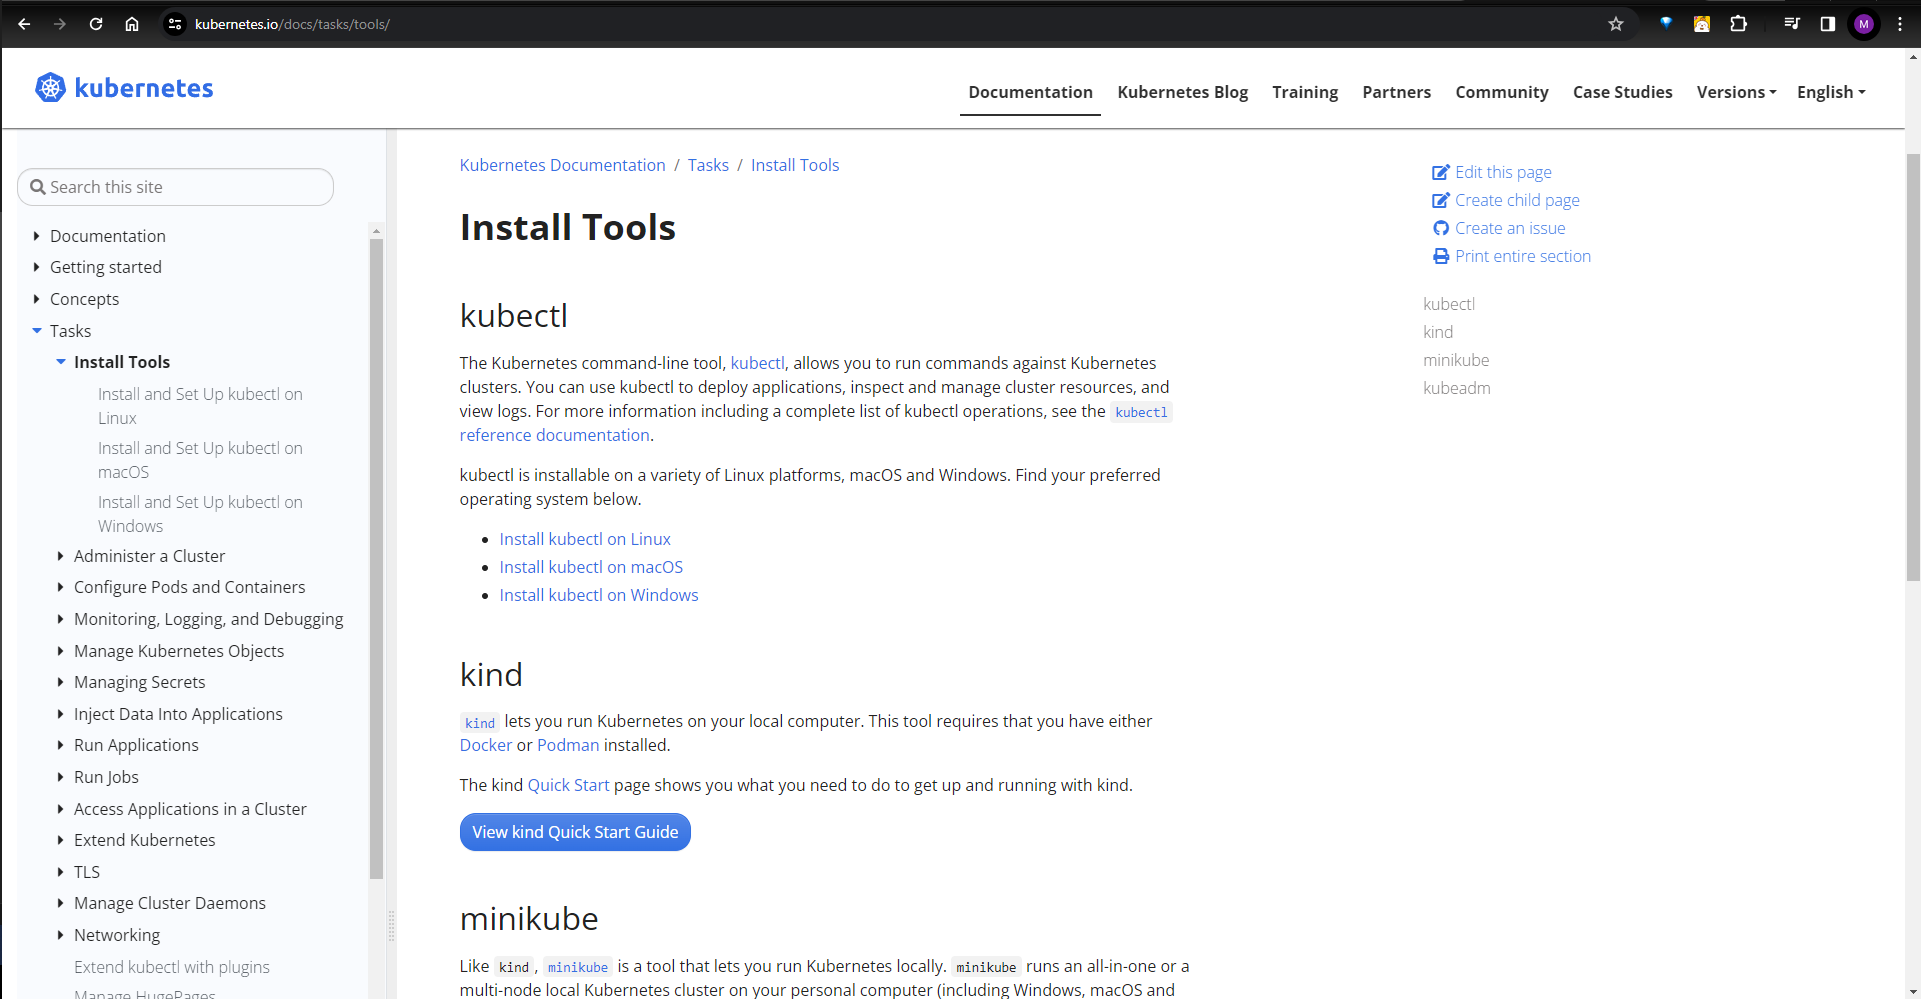
Firstly, go to the following page of Kubernetes: https://kubernetes.io/docs/tasks/tools/.
-
Then, select Install kubectl on Windows item.
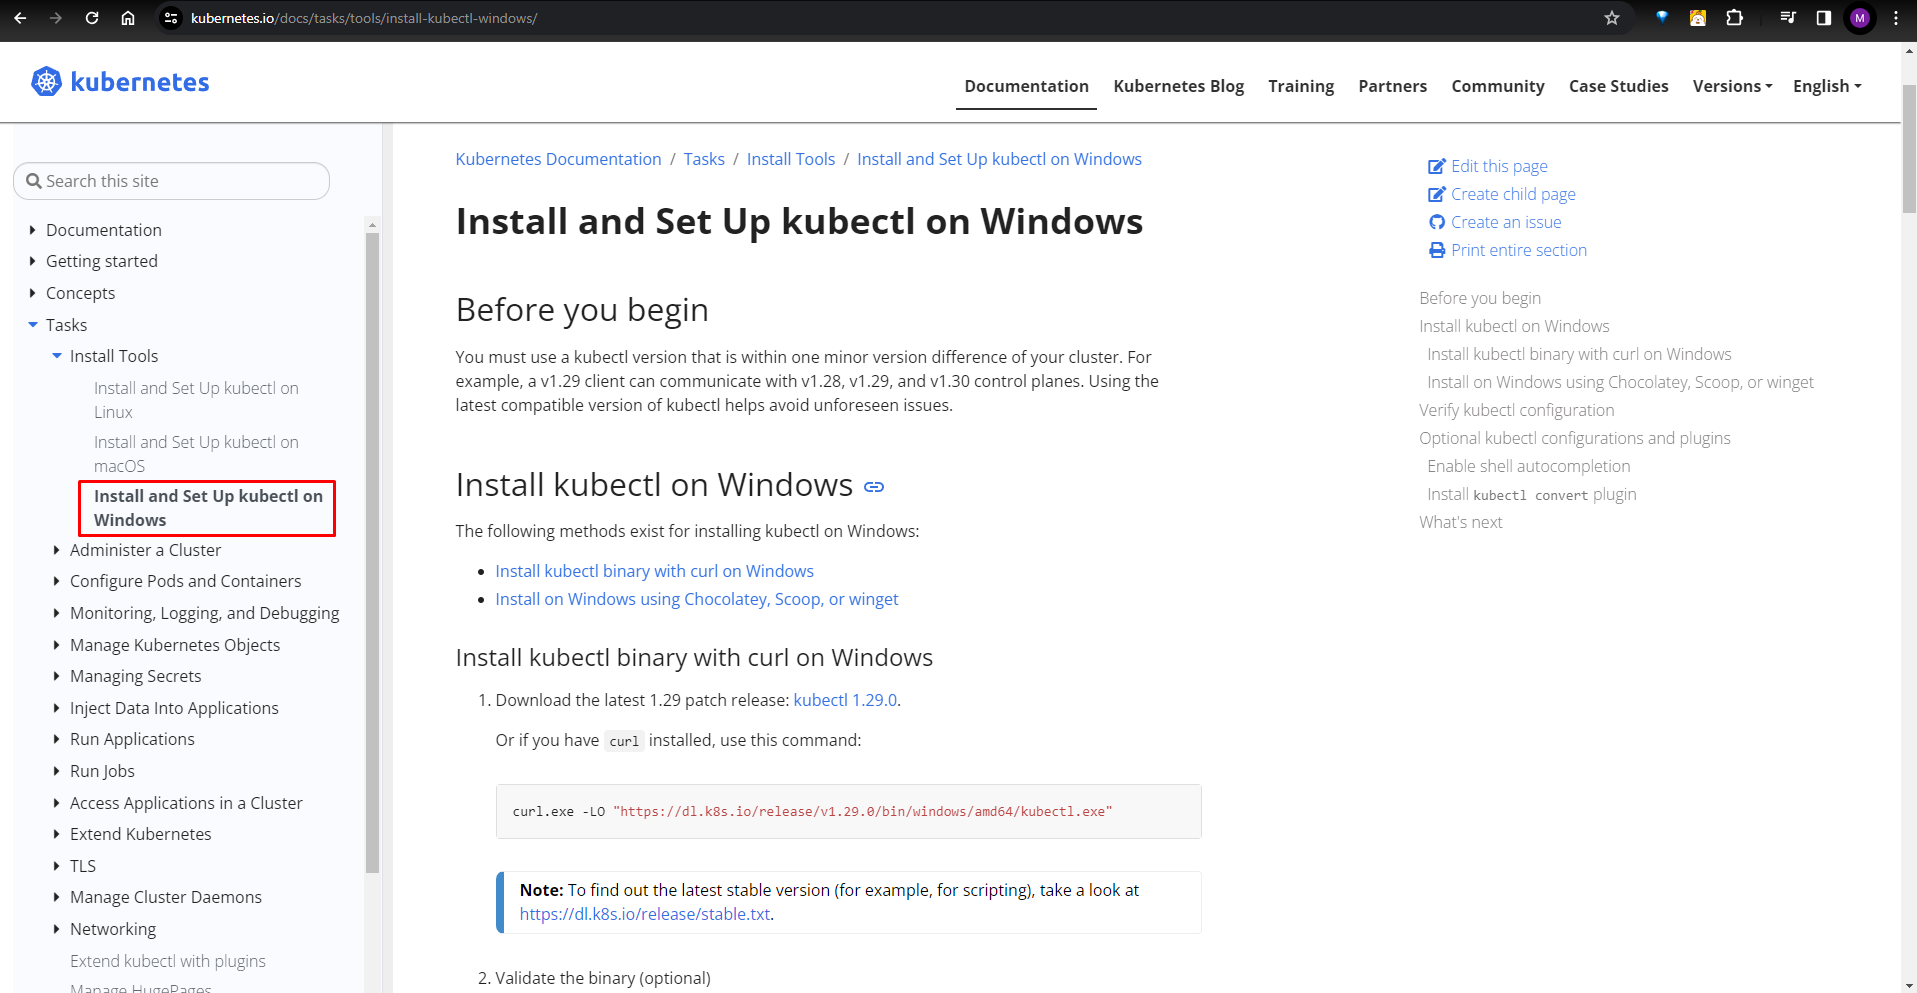
In this step, we will follow Install kubectl binary curl on Windows section.
-
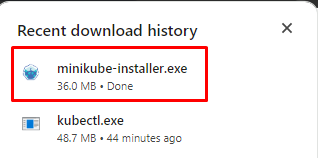
Download the kubectl with version - 1.29.0.
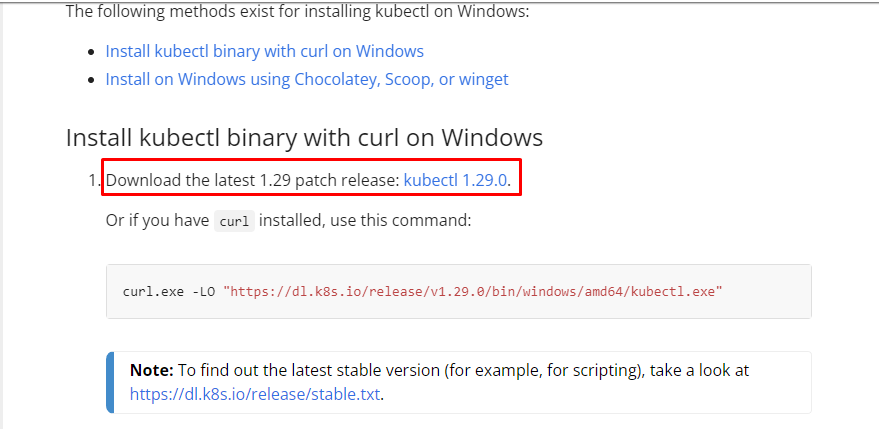
Then, we have:

-
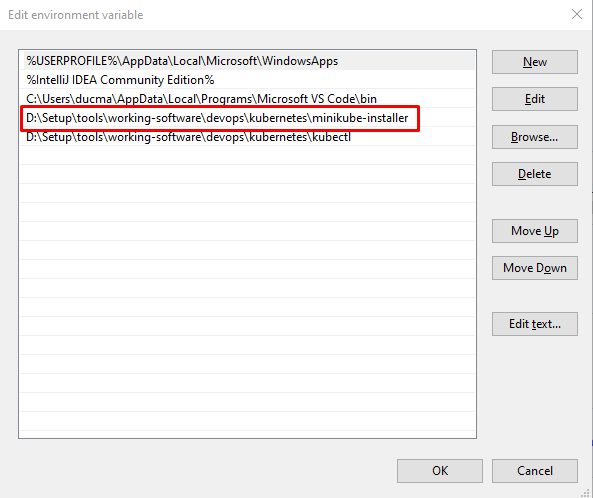
Next step is that we will add the path of kubectl to the Environment Variables of Windows.
Before doing this, we need to take care the note of Kubentes about kubectl of Docker Desktop for Windows like the below image.

Then, start to setup PATH of kubectl for Environment Variables.
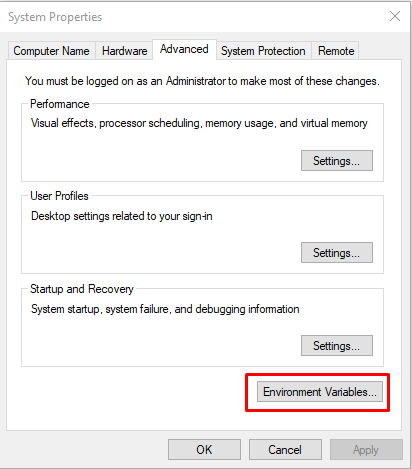
Choose the Path of User Variables section. And add our path of kubectl executable file into it.
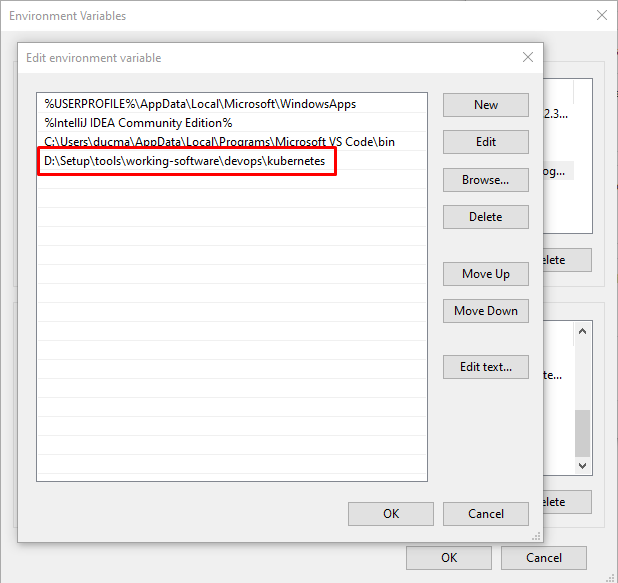
Click OK button.
-
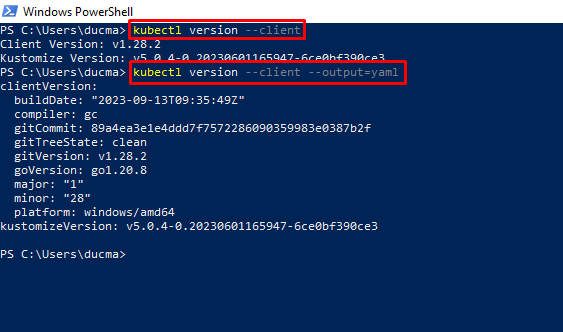
Verify the kubectl file is installed correctly or not by using cmd or powershell.
  kubectl version --client

  kubectl version --client --output=yaml
So, we installed kubectl successfully.
-
Step 2: Install Minikube
-
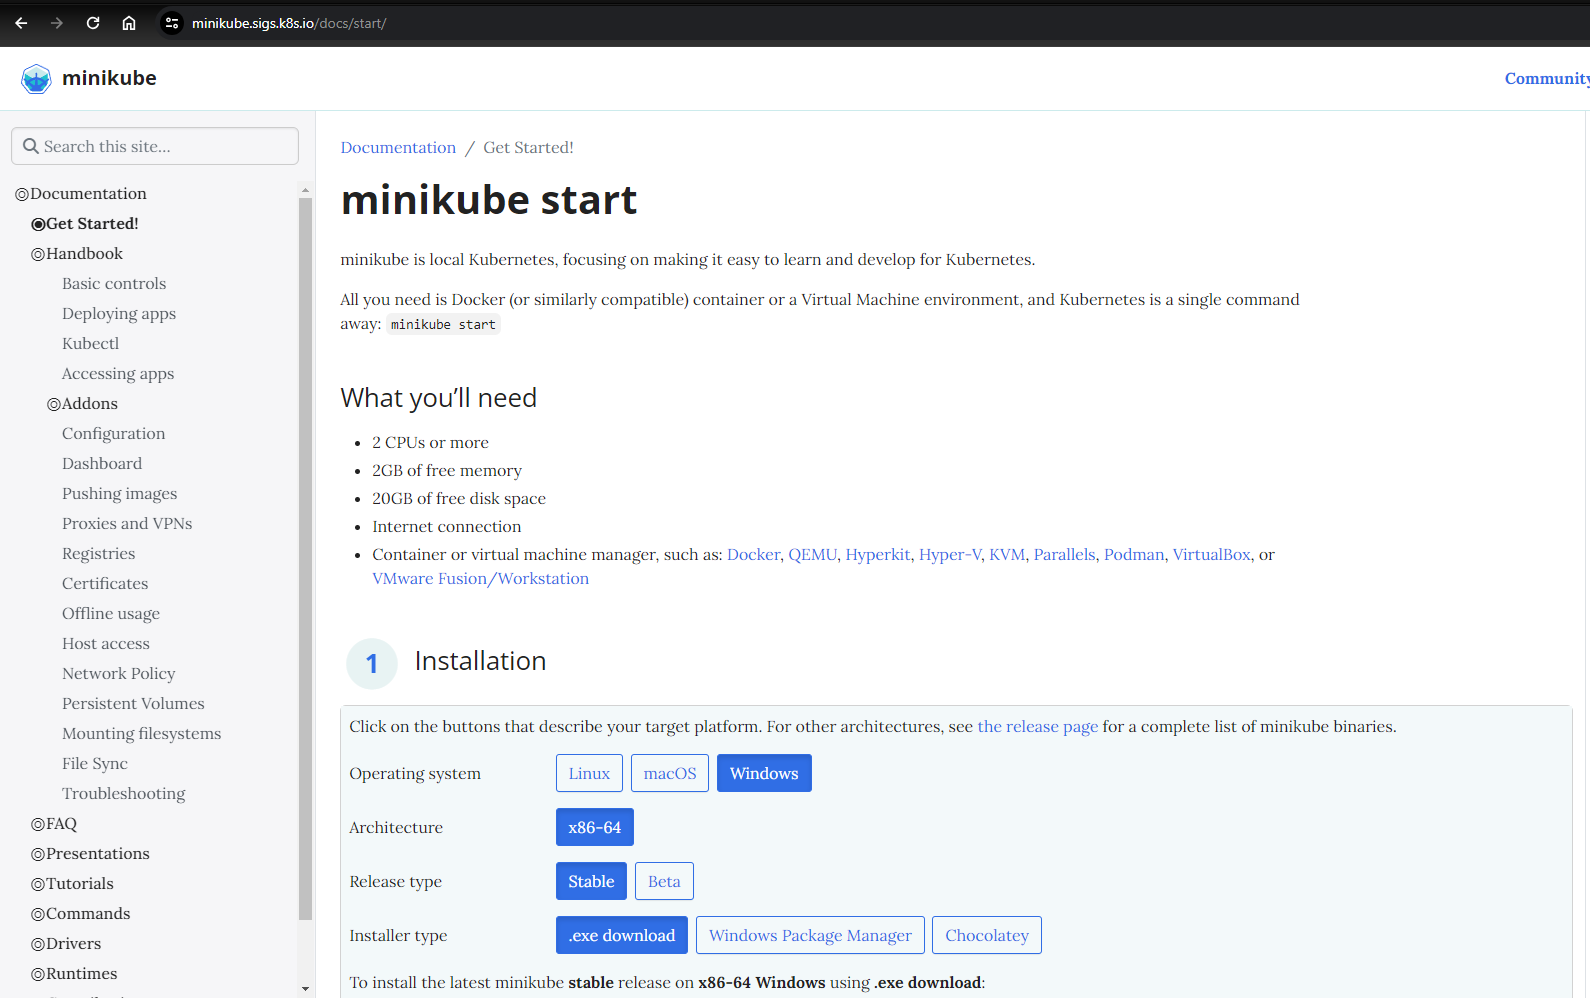
Go to the Installation section of the following page: https://minikube.sigs.k8s.io/docs/start/.
-
Download the executable file of Minikube.
-
Add the path of Minikube to the Path of User Variables on Windows 10.
-
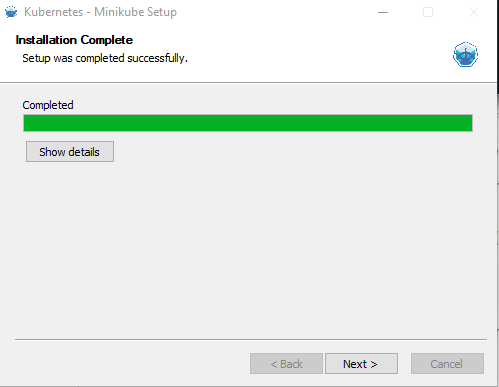
Install that executable file of Minikube like the below image.
-
Testing the Minikube.
Run the following commands:
minikube startminikube start --vm-driver="hyperv" --hyperv-virtual-switch="minikube"
But we also run into the following issue:

To solve this issue, we will go to the next step: Step 3: Setup connections for Minikube.
Step 3: Setup connections for Minikube
-
Setup Hyper-V Manager.
-
Go to the Hyper-V Manager by searching it on Windows’s Start.
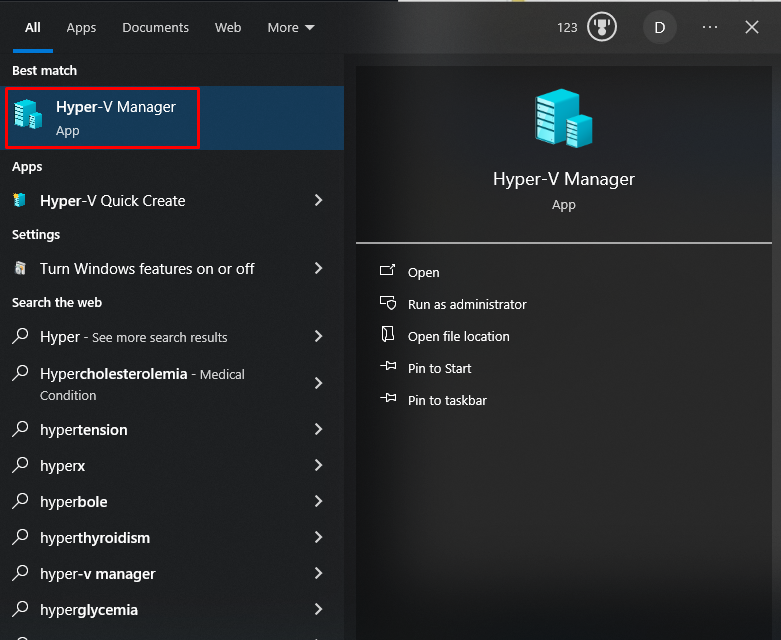
Then, we have:
-
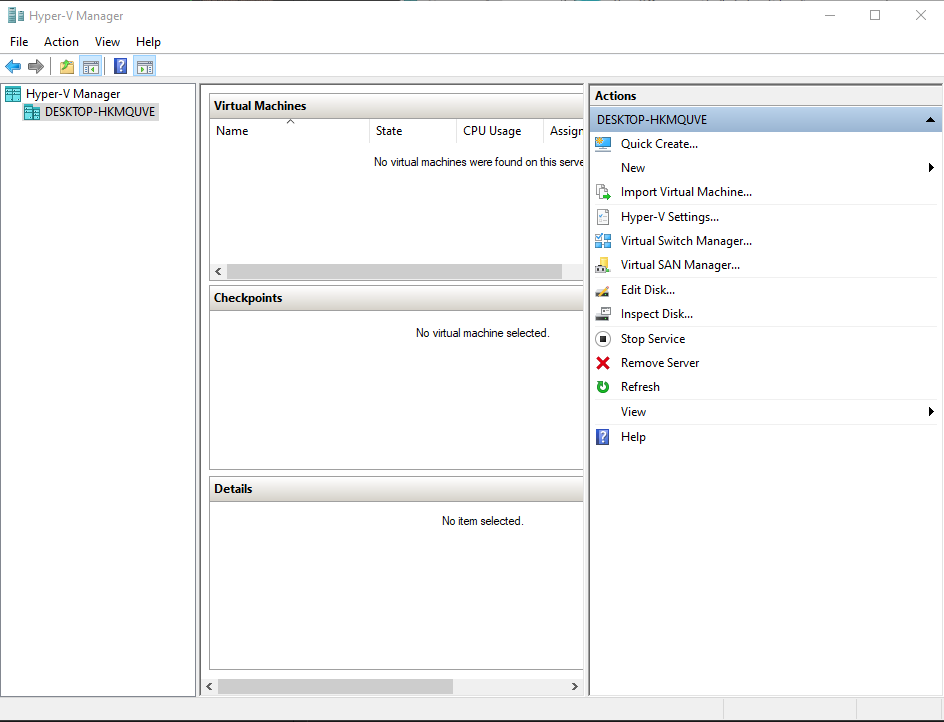
Select the DESKTOP-HKLMQUVE item under Hyper-V Manager.
-
Select Virtual Switch Manager on the left side of Actions dialog.
-
Choose the New virtual network switch item under Virtual Switches.
Then, choose Internal for the question: What type of virtual switch do you want to create?
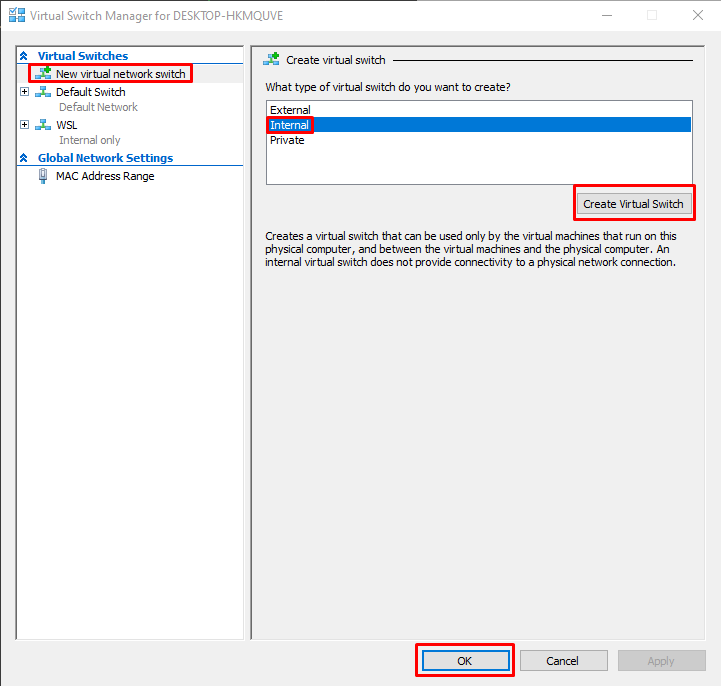
Click Create Virtual Switch button. Then, we have:
-
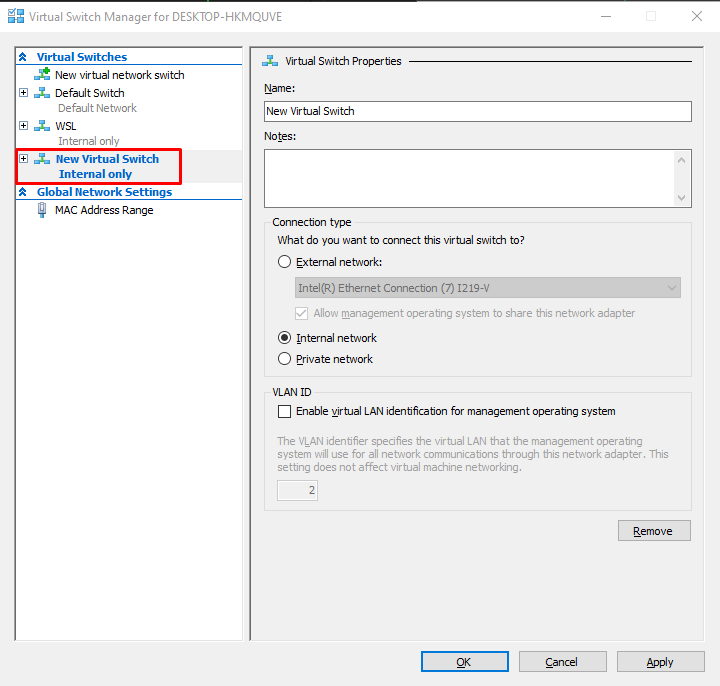
Setup the New Virtual Switch Internal Only.
Change the Name field to minikube. Then, choose the Internal network.
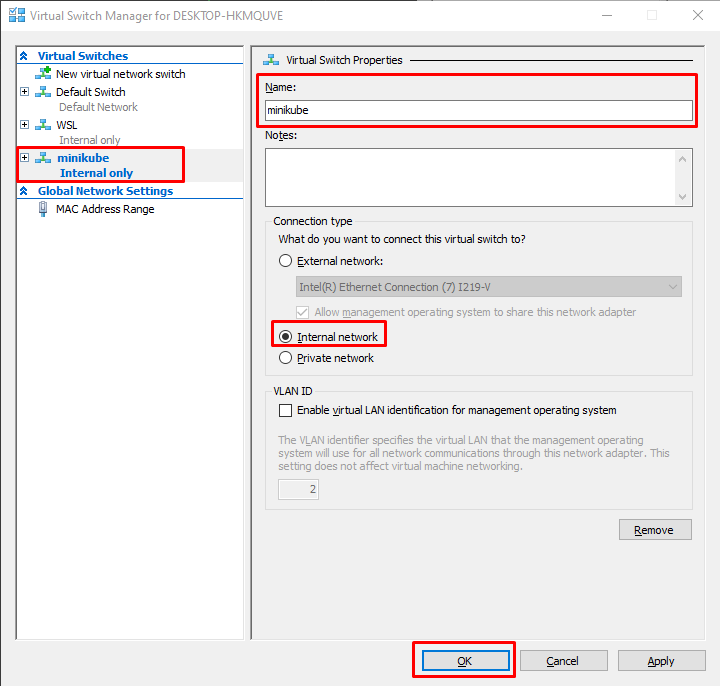
Click OK button.
-
-
Setup Networks on Windows 10.
-
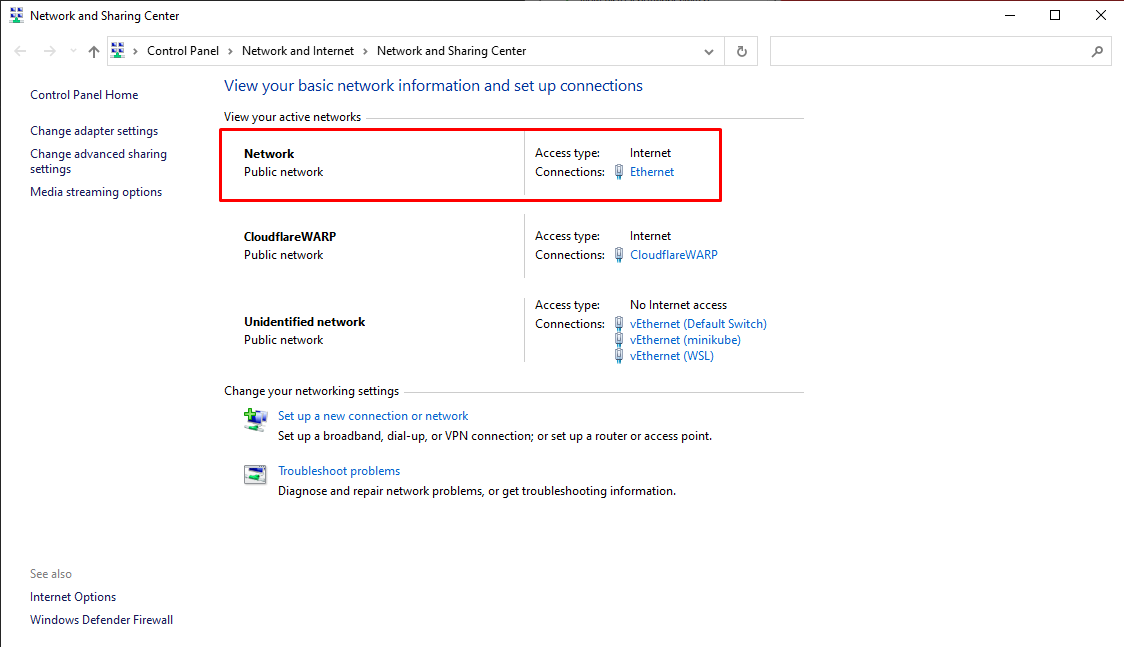
Go to the Network and Sharing Center dialog.
-
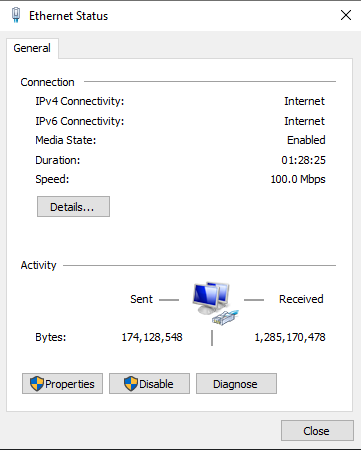
Choose the Ethernet in Connections.
-
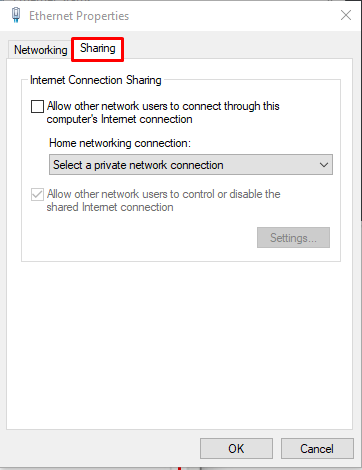
Click Properties button on this dialog, and go to the Sharing tab.
-
Choose a checkbox Allow other network users to connect through this computer’s internet connection. Then, Choose the Home networking connection with vEthernet (minikube) option.
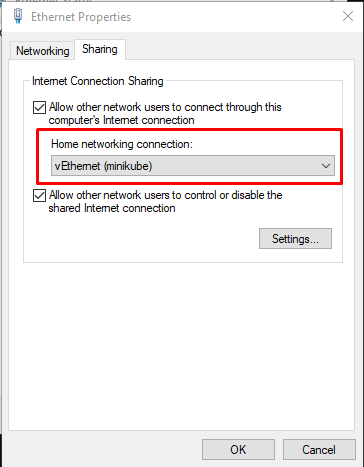
Click OK button.
-
-
Verify minikube again.
Run the following commands:
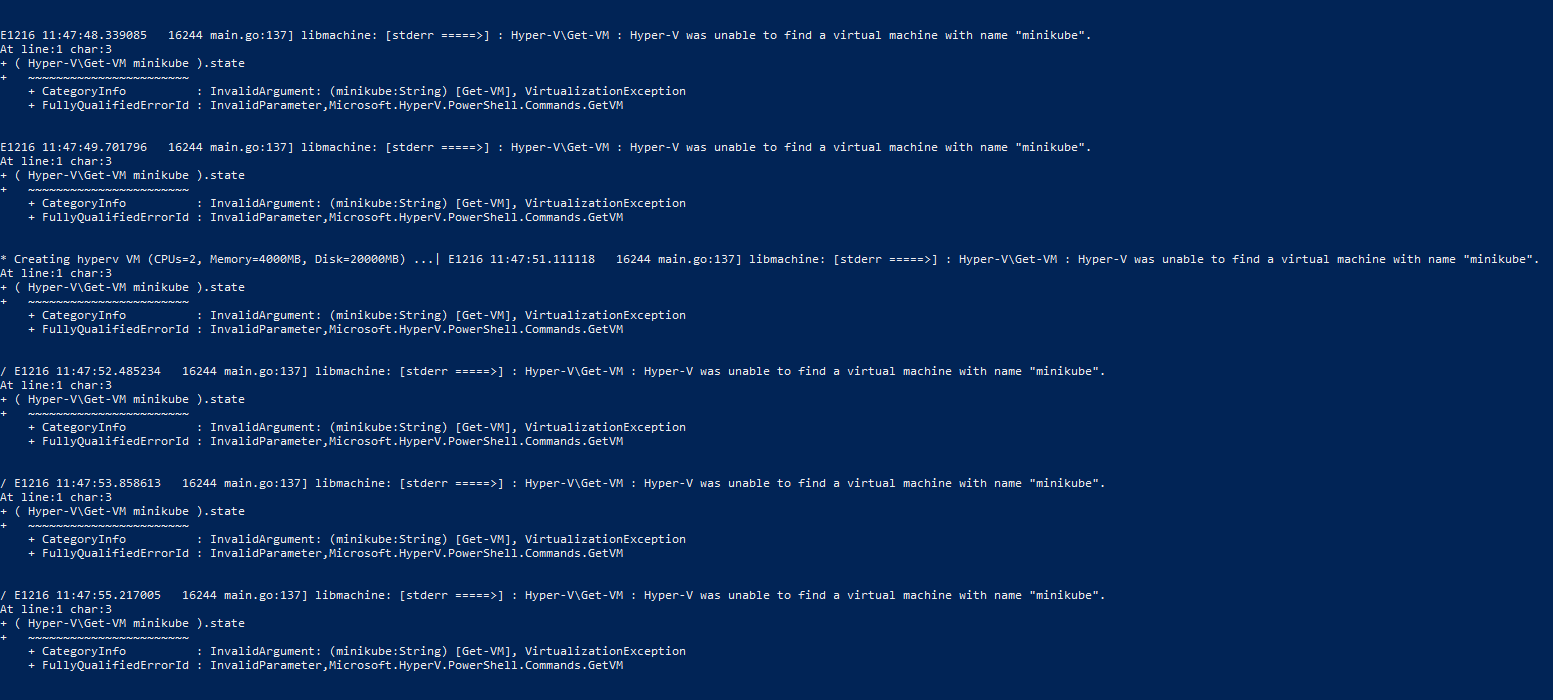
minikube start --vm-driver="hyperv" --hyperv-virtual-switch="minikube"
We still run into the issue with the message: “Hyper-V was unable to find a virtual machine with name “minikube”.”.
Below are some solutions for the above issue:
-
First way.
Due to the fact that we use the VPN of CloudFlare, it cause this issue. Run the below commands:
  minikube delete --all

  minikube start --driver=hyperv --force
Then, we have:

-
Second way.
When running the following command by using external virtual switch:
minikube start --hyperv-use-external-switchIt works.
Some issues while installing Kubernetes
-
When running
minikube start, we will run into the following error: “Unable to resolve the current Docker CLI context “default””.Try to update your active context of docker which Minikube will pick up.
docker context use default