In this article, we will introduce about some useful tips for testing with postman. It will help us automatically testing for much data.
Let’s get started.
Table of contents
- Create new collection
- Define variables in Environment
- Define request body as variable
- Use Runner Collection in Postman
- Wrapping up
Create new collection
-
Open our Postman
-
At Home window, click
New Collectionbutton in the left side.
Then, we have our New Collection dialog:
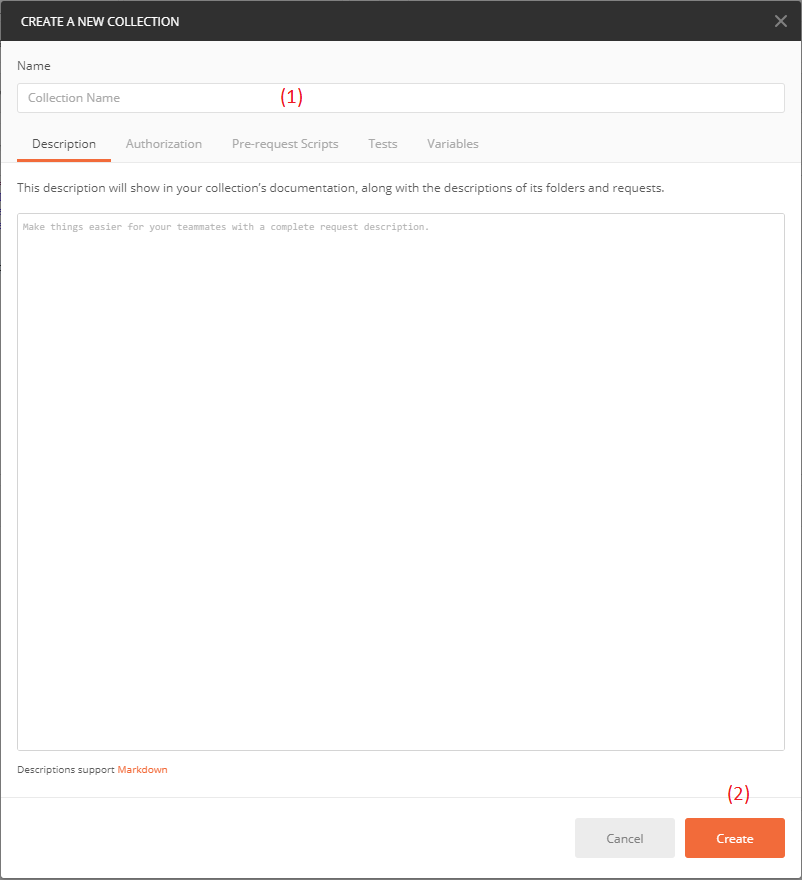
At this dialog, we should do some steps:
(1)- type collection’s name that we want. For example: Use-Postman(2)- ClickCreatebutton
-
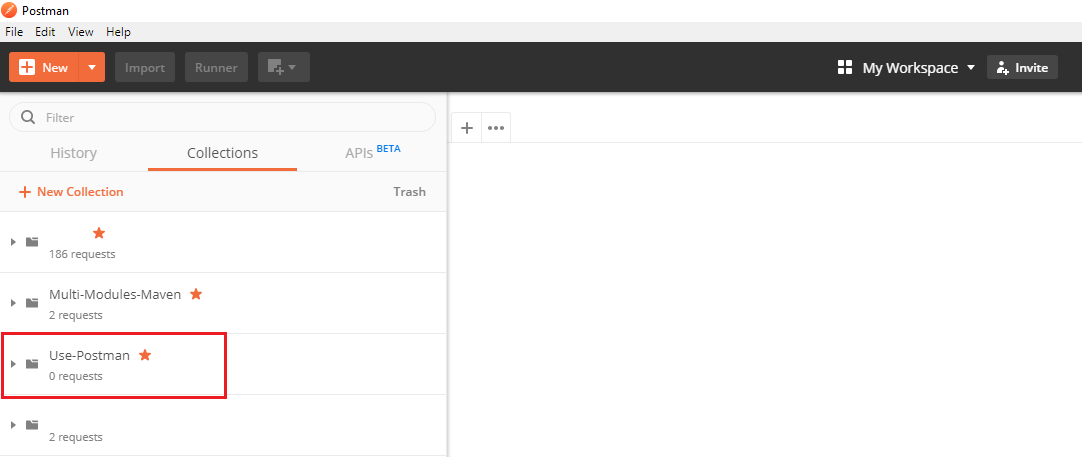
After create new collection, we have:
-
If we use Authorization for all requests such as Bearer token or something else, we can set Authorization in this collection.
And in each request, we will use
Inherit auth from parent. With this approach, we do not take care of changes that we have.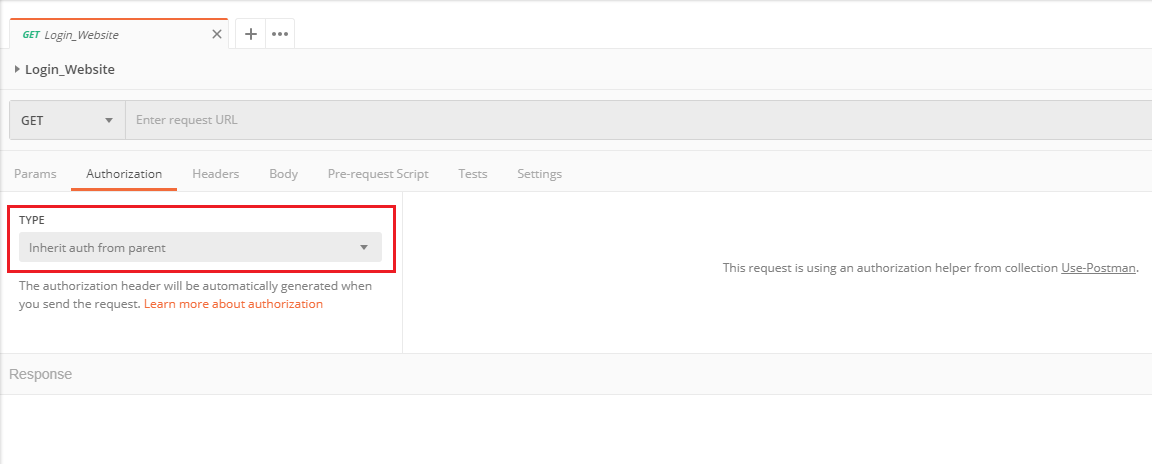
Define variables in Environment
-
Create our own environment.

-
Then, we have
Manage Environmentsdialog.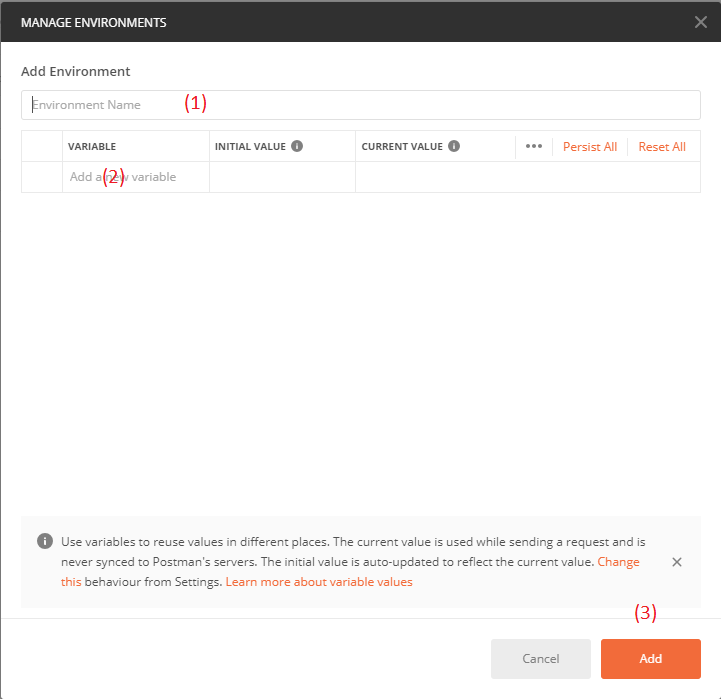
We have to fill some below fields such as:
(1)- Environment’s name(2)- declare some variables that we will use in our collections.(3)- ClickAddbutton to save all environment’s variable.
-
Fill data to environement’s variables.
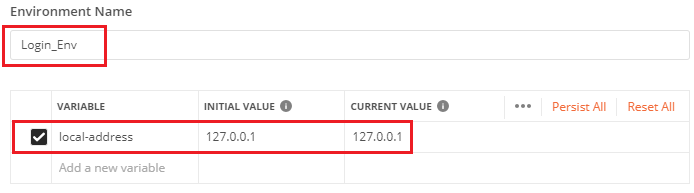
Click
Addbutton, we can see our result.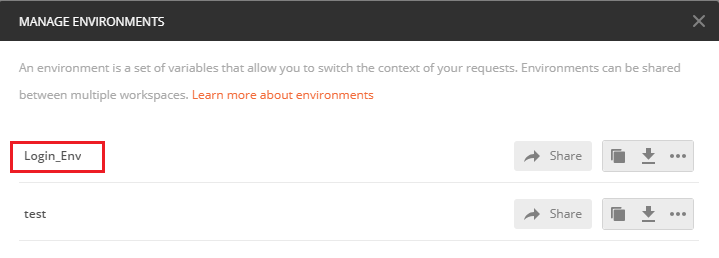
-
Use environement’s variables in each request.
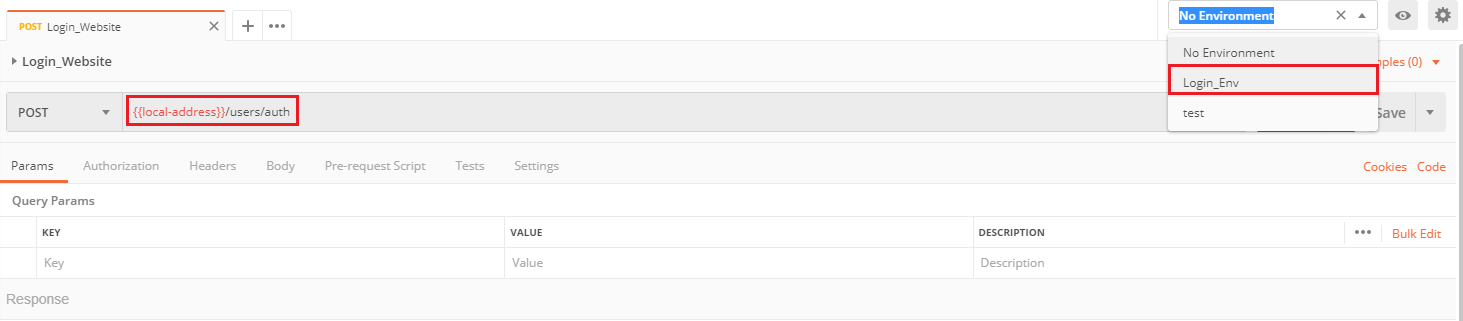
First, we should select which environment to apply for our collection or requests.
Second, use symbol
\{\{env_variable_name\}\}to get environment’s variables. In the above image, we use\{\{local-address\}\}.Also, we can apply environment’s variables for
headers,request bodyof Postman.
Define request body as variable
In our login request, we want to use post method to push json data that contains username and password to server. In this section, we will do below some steps:
-
Prepare data for this case.
We can refer to this link in github.
After creating json data, we have the format of this file:
[ { "username": "username0", "password": "password0" }, { "username": "username1", "password": "password1" }, { "username": "username2", "password": "password2" } ... ] -
In
Bodytab of request, we should type:\{\{requestBody\}\} -
In
Pre-request Scriptstab, define JSON object to be sent in the folder (or collection).let obj = { "username": "", "password": "" }; pm.environment.set("requestBody", JSON.stringify(obj));
Use Runner Collection in Postman
-
Open Collection Runner dialog
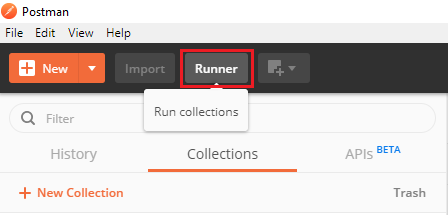
Then, click button.
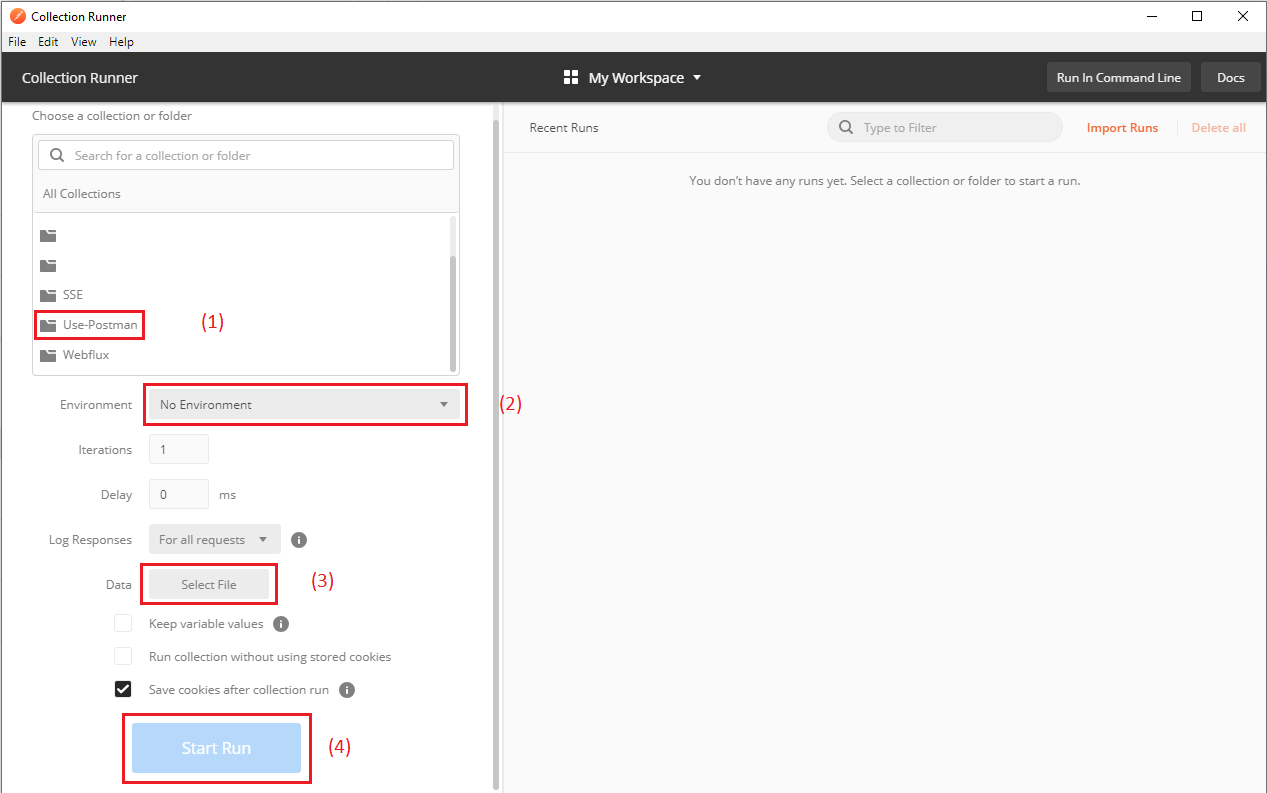
-
Select fields
(1)- select our collection.(2)- selectLogin_Envenvironment.(3)- choose json data file with the above format.(4)- click buttonStartto run all request.
Wrapping up
- Understand about how to use configuration in Postman.
- Automatically iterate all our data in json file.
Refer:
https://www.postmanlabs.com/postman-collection/RequestBody.html