In this article, we will introduce some basic commands that we need to know when programming with bash script. Practice fluently all this commands makes us to be possible to write scripting in a large project.
Let’s get started.
Table of contents
- Open command line interface
- Understanding about user’s level in Linux
- Running bash file
- Comment something
- Commands with File system
- Redirecting output
- Some useful command-line tricks
- Wrapping up
Open command line interface
-
First way, click Terminal icon that is at the bottom of sidebar.
-
Second way, use shorcut key
Ctrl + Alt + T.
Understanding about user’s level in Linux
-
normal user
Normal users has limited permission such as they do not install software, …
-
sudoThe purpose of
sudois to enable us to use our user account to do things that normally onlyrootwould have been able to do.When we use
sudo, we’ll be aksed for our user’password for confirmation, and then the command will execute. -
rootThe
rootuser account exists on all Linux distributions and is the most powerful user account on the planet.rootuser account can be used to do anything:- create files or directories.
- install software.
- destroy entire installation with one typo or ill-conceived command.
- delete all files on hard disk.
- …
–> There is often not so much as a confirmation prompt while executing any commands as
root.It’s for these reasons that it’s generally recommended that we should not use
rootaccount unless we absolute have to.
Running bash file
-
Open Terminal
Ctrl + Alt + T -
In Terminal, use nano editor to create the file and file’s name.
nano fist.shIn bash fist.sh, we type our commands such as:
#!/bin/bash echo "Hello, world!" -
Run
first.shbash file-
First way, using bash command
bash fist.sh -
Second way, setting execute permission to bash file and run this file.
  chmod a+x firsh.sh
  ./first.sh
-
Comment something
-
Single comment
#!/bin/bash # Use "#" symbol to create single line comment. echo "single line comment" -
Multi-line comment
  #!/bin/bash
  :'
  Using multi-line comment in this file
  testfile.sh
  '
  echo 'hello, world'
Commands with File system
-
Create folder
mkdir folder_path_name -
List all files in directory
ls # or dir -
Delete file
Use
rmcommand to remove a file with specific path.rm [-f|i|I|q|R|r|v] fileOptions Description -fdeletes read-only files immediately without any confirmation. -iprompts for confirmation before deleting every files before entering a sub-directory if used with -Ror-r.-qsuppresses all the warning messages, however error messages are still displayed. -Rdelete recursively files and folders in parent folder. -ras same as -R.-vdisplay the file names on the output. -Iprompts everytime when an attempt is made to delete for than 3 files at a time or while removing recursively. -
Move files/folder
-
Copy files/folder
-
Rename file
If we have a file with
mistake-test.txt, we want to rename this file totest.txt.mv mistake-text.txt test.txt
Packages command
-
List all installed packages
sudo apt list --installed # or dpkg --get-selections > list.txt # list a specific installed package dpkg --get-selections | grep postgres -
Set PATH for JDK
-
First, we can install our latest jdk.
  sudo apt install default-jdk
  sudo apt install default-jre
If we encounter the problem such as
E: Could not get lock /var/lib/dpkg/lock-frontend - open (11: Resource temporarily unavailable), we can solve the problem with https://askubuntu.com/questions/1109982/e-could-not-get-lock-var-lib-dpkg-lock-frontend-open-11-resource-temporari. -
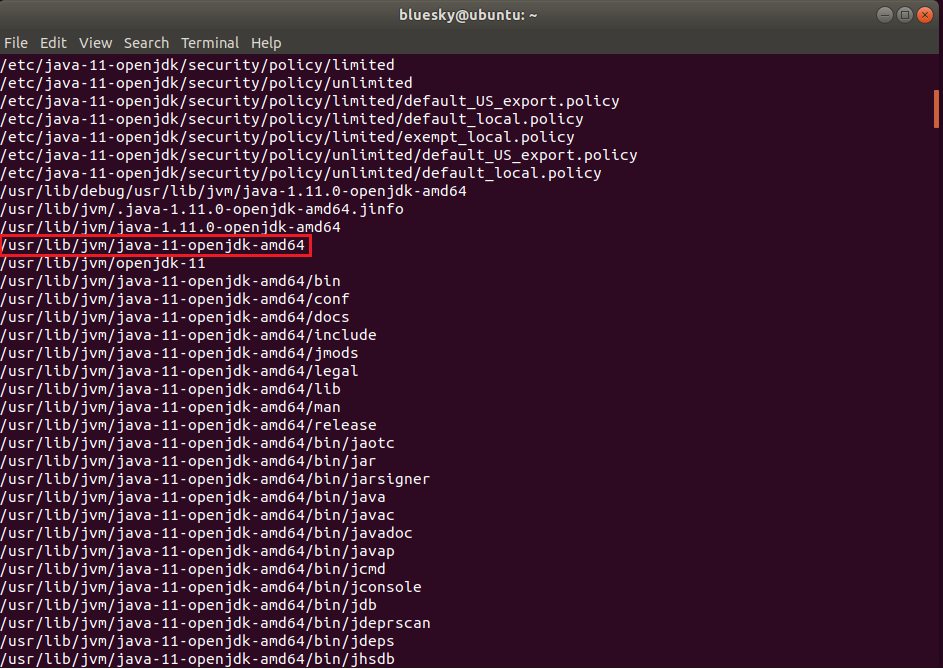
Then, we need to find our jdk path.
  # update databse of ubuntu
  sudo updatedb

  # determine whether jdk is installed
  locate openjdk
So, we have:
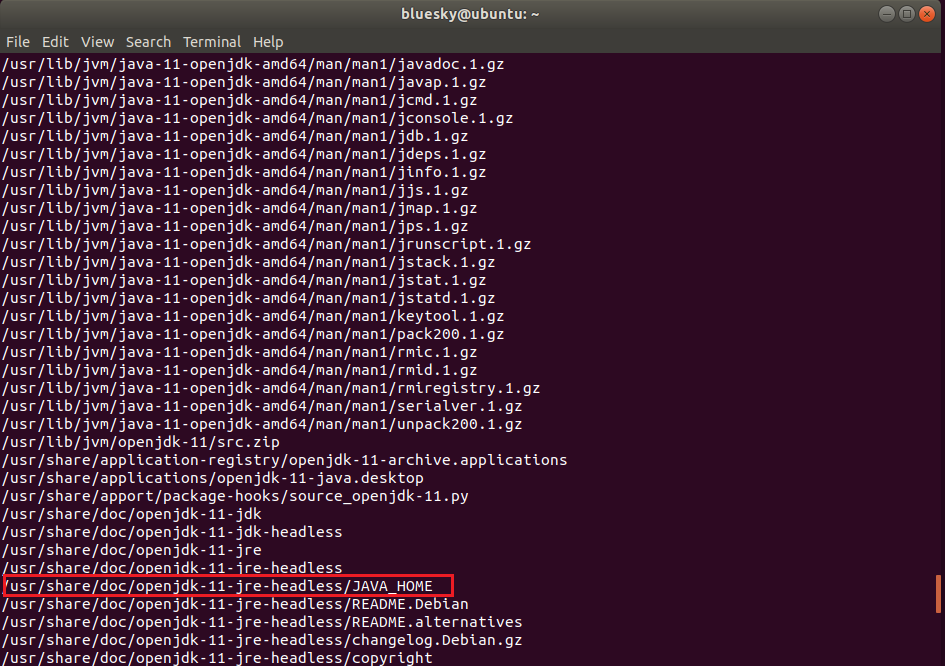
If most of the return outputs are “/usr/lib/jvm/java-11-openjdk-amd64”, we would use this path to set the Java_Home path.
-
Check all version of JDK in our computer
sudo update-java-alternatives --list -
Open
.bashrcfile.bashrcfile is a hidden file inside our home directory.ls -la ~/ | more # Then, use cd command to go to our user directory cd <user_name> # Finally, use nano to open .bashrc file nano .bashrc -
Update
.bashrcfileAdd the following commands to
.bashrcfile:export JAVA_HOME="usr/lib/jvm/java-11-openjdk-amd64" export PATH=$PATH:$JAVA_HOME/binNow, apply all the changes into current running system.
source ~/.bashrc -
Check current JDK’s version
java -version
-
-
Install Netbeans
# download netbeans cd /tmp && wget -c http://download.netbeans.org/netbeans/8.2/final/bundles/netbeans-8.2-linux.sh # run netbeans chmod +x netbeans-8.2-linux.sh sudo ./netbeans-8.2-linux.sh -
Install python
# refreshing the repositories sudo apt update # its wise to keep the system up to date! # you can skip the following line if you not # want to update all your software sudo apt upgrade # installing python 2.7 and pip for it sudo apt install python2.7 python-pip # installing python-pip for 3.6 sudo apt install python3-pip # NOTE: Do not try to remove python 3.6 as it will screw up your system -
Install git
  sudo apt update
  sudo apt install git

  # check git's version
  git --version
Service commands
-
List Ubuntu service with systemctl
Services are managed by
systemdsince Ubuntu 15. In order to list all services, usesystemctlcommand.systemctl list-units -a # list inactive unit systemctl list-units -a --state=inactive -
List Ubuntu services with service command
service --status-all # or service --status-all | grep '\[ + \]' # or service --status-all | grep '\[ - \]' -
Remove services that have failed status
systemctl reset-failed # or specific units systemctl reset-failed kafka.service zookeeper.service # other ways systemctl stop [service_name] systemctl disable [service_name] rm /etc/systemd/system/[service_name] rm /etc/systemd/system/[service_name] symlinks that might be related systemctl daemon-reload -
Start/Stop service
# start sudo systemctl start application.service # stop sudo systemctl stop application.service -
Restarting/Reloading service
sudo systemctl restart application.service sudo systemctl reload application.service sudo systemctl reload-or-restart application.service -
Starting automatically service
sudo systemctl enable application.serviceThis will create a
symbolic linkfrom the system’s copy of the service file (usually in/lib/systemd/systemor/etc/systemd/system) into the location on disk wheresystemdlooks for autostart files (usually/etc/systemd/system/some_target.target.wants)To disable the service from starting automatically, you can type:
sudo systemctl disable application.serviceThis will remove the symbolic link that indicated that the service should be started automatically.
Network commands
-
Check whether process is running on specific port
  # 1st - install net-tools package
  sudo apt-get install net-tools

  sudo netstat --tulpen | grep 2181

  # 2nd - if we do not have permission, we can check from other computer
  telnet target_ip_addr port
Process commands
Computer commands
-
Restart Ubuntu
sudo reboot -
Shutdown Ubuntu
  # 1st way - shutdown immediately system
  sudo power off

  # 2nd way
  shutdown -h now

  # 3rd way - shutdown that asks for a password
  sudo poweroff

  # 4th way - shutdown after n minutes
  shutdown -h <time_in_minutes>

  shutdown +<time_in_minutes>

  # Cancel shutdown
  shutdown -c

  # shutdown at the specific time
  # Ex: shutdown -h 20:3
  shutdown -h HH:MM
File commands
-
Search for patterns in each file
grep "something" fileWith some options:
-i: search for a string case-insensitively in the given file.-c: find the number of lines that matches the given string/pattern with the -c (count) flag.-v: invert match - find all lines that do not match.-r: recursive - search all the files in a directory.-l: only show the file names of the files that matched.-f: do not treat the match string as a regex.-o: only print the matching part of the line (not the whole line).-a: search binaries - treat binary data like it’s text instead of ignoring it.
Redirecting output
It is used to take the output of one command and redirect it into the input of another command.
-
Output to other commands
cat /var/log/syslog | grep apache2The above code mean that
catcommand is used to print the contents of the system log stored at/var/log/syslog. Using the pipe symbol|, we’re redirecting the output of that command and feeding it intogrep, which is looking for the stringapache2.When used together, we’re able to fetch lines from the system log that reference
apache2. This is useful if we’re troubleshouting some sort of issue with theapacheservice, and we’d like to look at the log file but ignore any lines that aren’t relevant to our investigation. -
Output to text file
echo "Hello, world!" >> ~/test-file.txtecho command normally outputs to the Terminal, but instead telling it to direct its output to a file named
test-file.txt, stored in our home directory.>>that is used in the above command means that it will continue to append this string to the file.If
>is used in the above command, it will actually wipe out the content oftest-file.txt. -
Output errors into Standard Error file descriptor
Normally, we’re working with a File Descriptor called Standard Output - stdout with commands that produce output. File descriptors are numbers that refer to open files, and these numbers are integers.
Standard output is a special file descriptor, with an integer of
1. It is our Terminal.Standard error - stderr also is file descriptor to be produce in error, with an integer of
2.find /etc -name *apache* 2>/dev/nullIt means that we’re redirecting output from the find command with
2>, instead of>, to/dev/null./dev/nullis a special device that anything enters it is never seen or hear from again.
Some useful command-line tricks
-
Repeat our command that we last used.
!!As same as
two exclamation marks, we can press the up arrow key and press Enter to recall the previous commmand and execute it.In order to run previous command with sudo privilege, we can type in terminal like below:
sudo !! -
Search in terminal
Use
Ctrl + Rshortcut key to search our previous command. -
Edit a command that we’ve previously typed in a text editor.
Assume we pressed the up arrow key, we have a very long command, and we just want to edit part of it without having to execute the entire thing, perhaps a command like this:
sudo apt update && sudo apt install apache2Let’s assume you want to install
nginxinstead ofapache2, but the rest of the command is right. If you holdCtrland then pressXfollowed byE, which will open the command in a text editor. There, you can change the command. Once you’re done making your changes, the command will execute once you save the file. Admittedly, this is usually only useful when you have a very long command and you need to just change part of it. -
Chain command
We can use the double ampersand - AND operator to do this.
sudo apt update && sudo apt install apache2It means that the second command will run if the first was successful.
Another way to chain commands is to use semicolon.
sudo apt update; sudo apt install apache2With using semicolon, we will execute the second command regardless of whether the fist command was successful.
-
Command alias
It allows us to create a command that is just another name for another command. This allows us to simplify commands down to just one word or a few letters.
  alias install="sudo apt install"

  // or
  alias i="sudo apt install"

  // View the top ten CPU consuming processes
  alias cpu10='ps auxf | sort -nr -k 3 | head -10'

  // View the top ten RAM consuming processes
  alias mem10='ps auxf | sort -nr -k 4 | head -10'

  // View all amounted filesystems, and present the information in a clean tabbed layout
  alias lsmount='mount | column -t'

  // Clear the screen by simply typing c
  alias c=clear
In the fact, when we exit Terminal window, our aliases are wiped out. In order to retain them, we need to edit our
.bashrcfile. This file is present in our home directory and is read every time we start a new Terminal session. -
Change our working directory back to the previous directory we were in
cd -
Wrapping up
- Normally, we should use confidently some basic commands such as file system, …
- Remember to use some command-line tricks efficiently.
Refer:
https://help.ubuntu.com/lts/serverguide/backup-shellscripts.html
https://linuxhint.com/100_essential_linux_commands/