In this article, we will discuss about how to configure Resin server into our IDE Eclipse, and how to overcome some common errors when running project.
Table of contents
- Configure Resin in e builder
- Create new Server for our project
- Deploy WAR file with Resin
- Errors with Resin when running project
Configure Resin in e Builder
-
Download Resin
We can go to the download website of resin http://caucho.com/products/resin/download.
Download the lastest version of Resin.
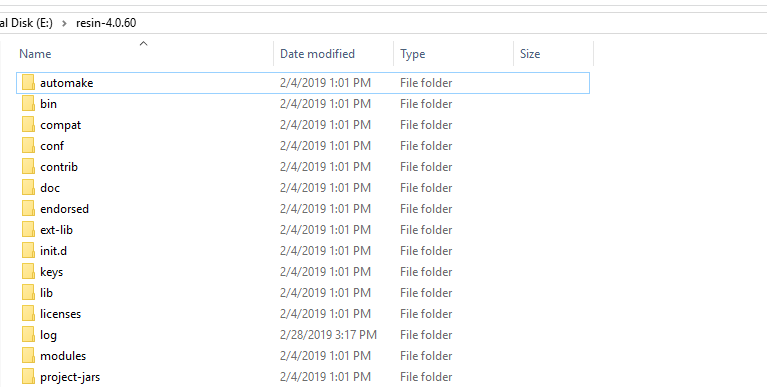
And we will unzip this Resin file into our folder.
-
Add Resin server into eclipse.
-
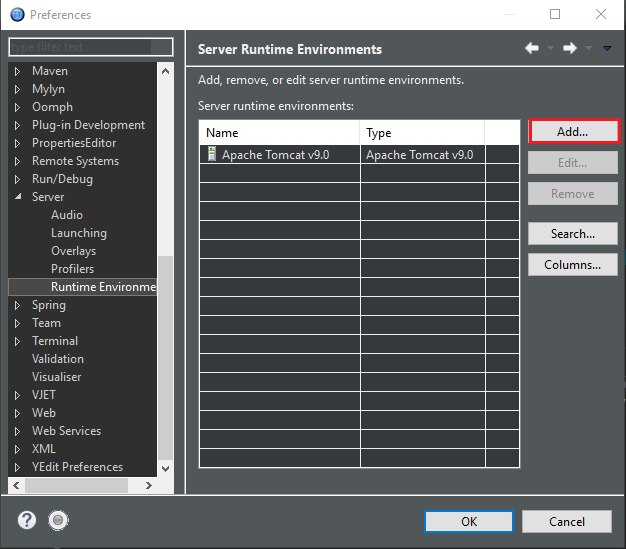
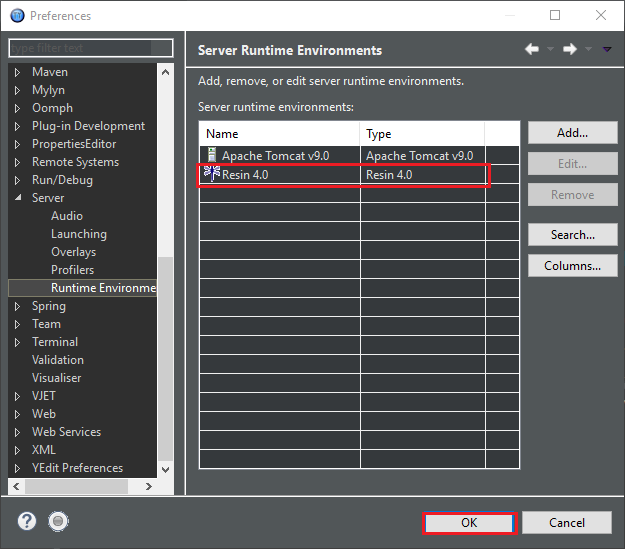
Open Window\Preferences, we have Preference dialog. Then, select Server tab, choose option Runtime Environments:
-
In Preference dialog, select Add button. Open New Server Runtime Environment.
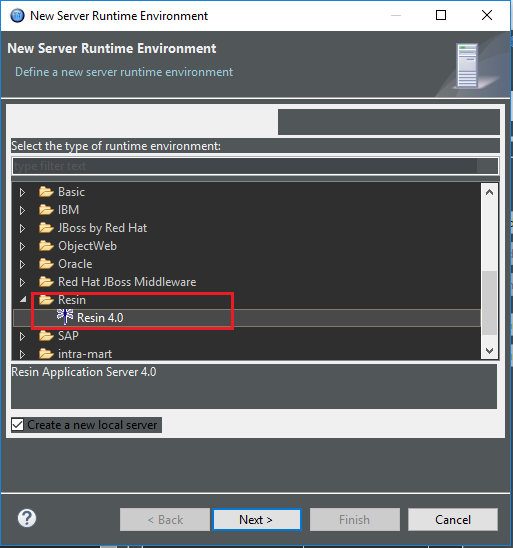
If you see anything that do not look like the above image, you still select the option in Resin folder. And click Next button.
Then, we have to choose JRE version and click Download and Install button to install Resin driver for our eclipse.
We can wait for approximately 5 minutes to finish this task. After done, it will restart our eclipse.
Finally, when eclipse appear again, the New Server Runtime Development looks like the above image.
Then, click Next button.
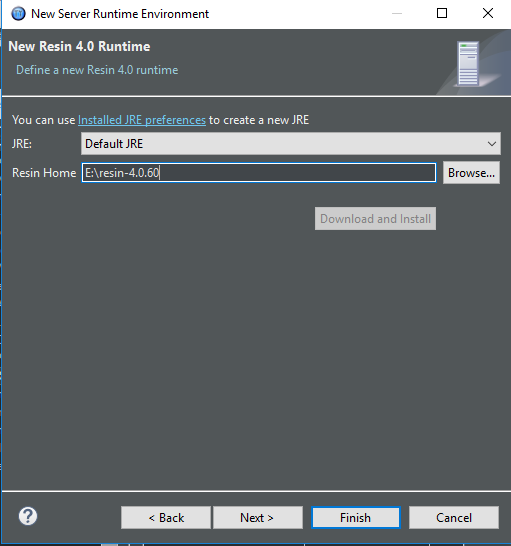
In this dialog, we should fill the home path of Resin into the textbox - Resin Home.
Click Finish button or Next button.
-
A result will be looked like:
-
Create new Server for our project
In order to run our project, first of all, we need to add new server such as Resin, Tomcat, Glassfish.
-
Right click on our project in
Project Explorer. SelectNewitem, then, chooseOtheritem.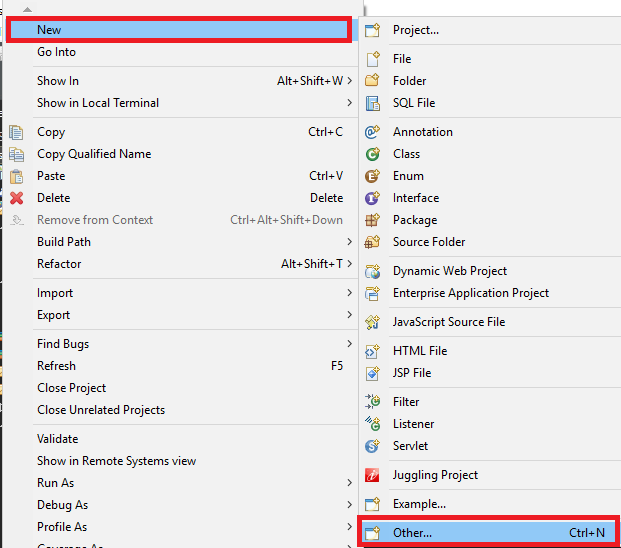
-
Go to the
Newdialog. SelectServerfolder, chooseServer. ClickNextbutton.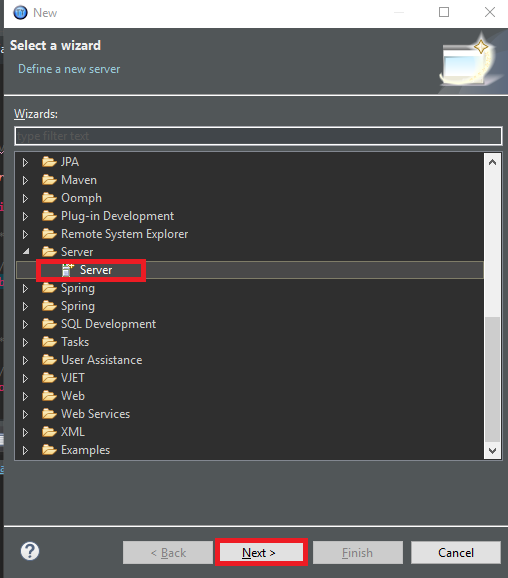
-
Go to the
New Serverdialog. ChooseResinandResin 4.0.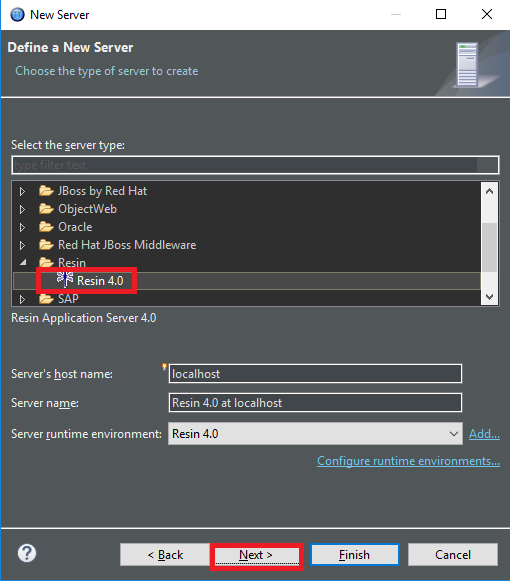
-
Click
Nextbutton.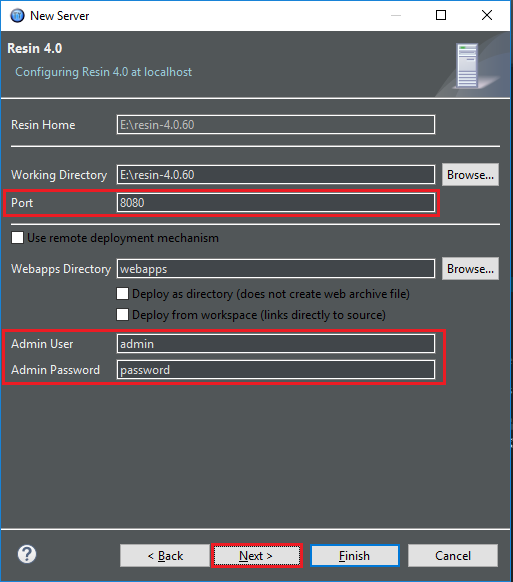
In this dialog, we can repair some information about server such as Port, username, password, …
-
Click
Nextbutton.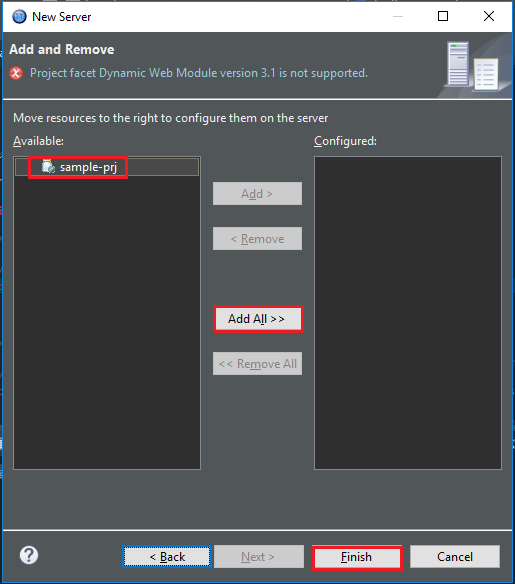
-
Click
Finishbutton.
Deploy WAR file with Resin
In eclipse or e Builder IDE, we have to make an WAR file that is created by IM Juggling.
In case of Windows:
- Open Command Prompt.
-
Type commands
  cd <%RESIN_HOME%>
  resin deploy WAR_FILE_PATH
In case of Linux:
# <%RESIN_HOME%>/bin/resinctl deploy any directory path/war file name
Errors with Resin when running project
-
javac compiler is not available in Java(TM) SE Runtime Environment 1.8.0_181-b13. Check that you are using the JDK, not the JRE.- Reason: Because in our project, we are choosing default
Installed JREsis JRE 1.81. So, Eclipse or E-builder do not find javac compiler. -
Solution: Change the path of
Installed JREsto JDK 1.81.-
Step 1: Open
Windows–>Preferences. Then selectAddbutton.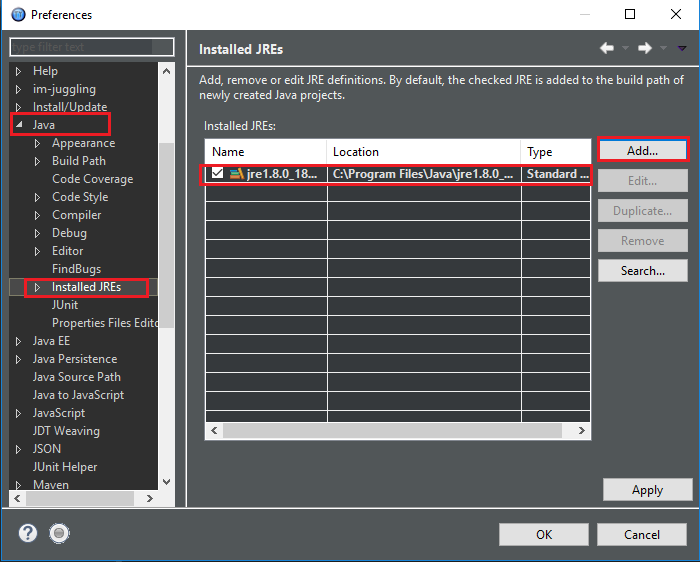
-
Step 2: Select
Addbutton, we have:
-
Step 3: Select
Nextbutton, we have: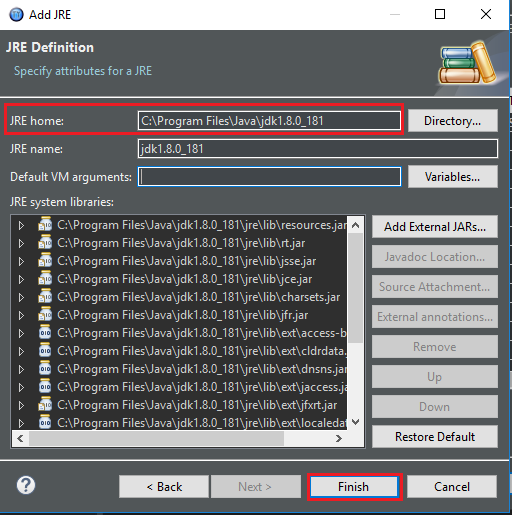
In this dialog, we type the path for JRE home is the path of JDK. Because in JDK folder, we have JRE.
Click
Finishbutton. -
Step 4: Check to option that has JDK.
Click
Applybutton –>OKbutton.
-
- Reason: Because in our project, we are choosing default
-
Note: In order to use e Builder property, we need to configure JDK and JRE that is allowed with this link
Refer:
Setting for JDK and JRE for e Builder
https://blog.csdn.net/lifelegendc/article/details/63684433
https://wagenknecht.org/blog/archives/2006/03/resin-plug-in-for-eclipse.html